
Are you running an online store based on WooCommerce and want to accept Bitcoin payments with WooCommerce?
This guide provides a complete step-by-step tutorial with links to detailed articles on our website.
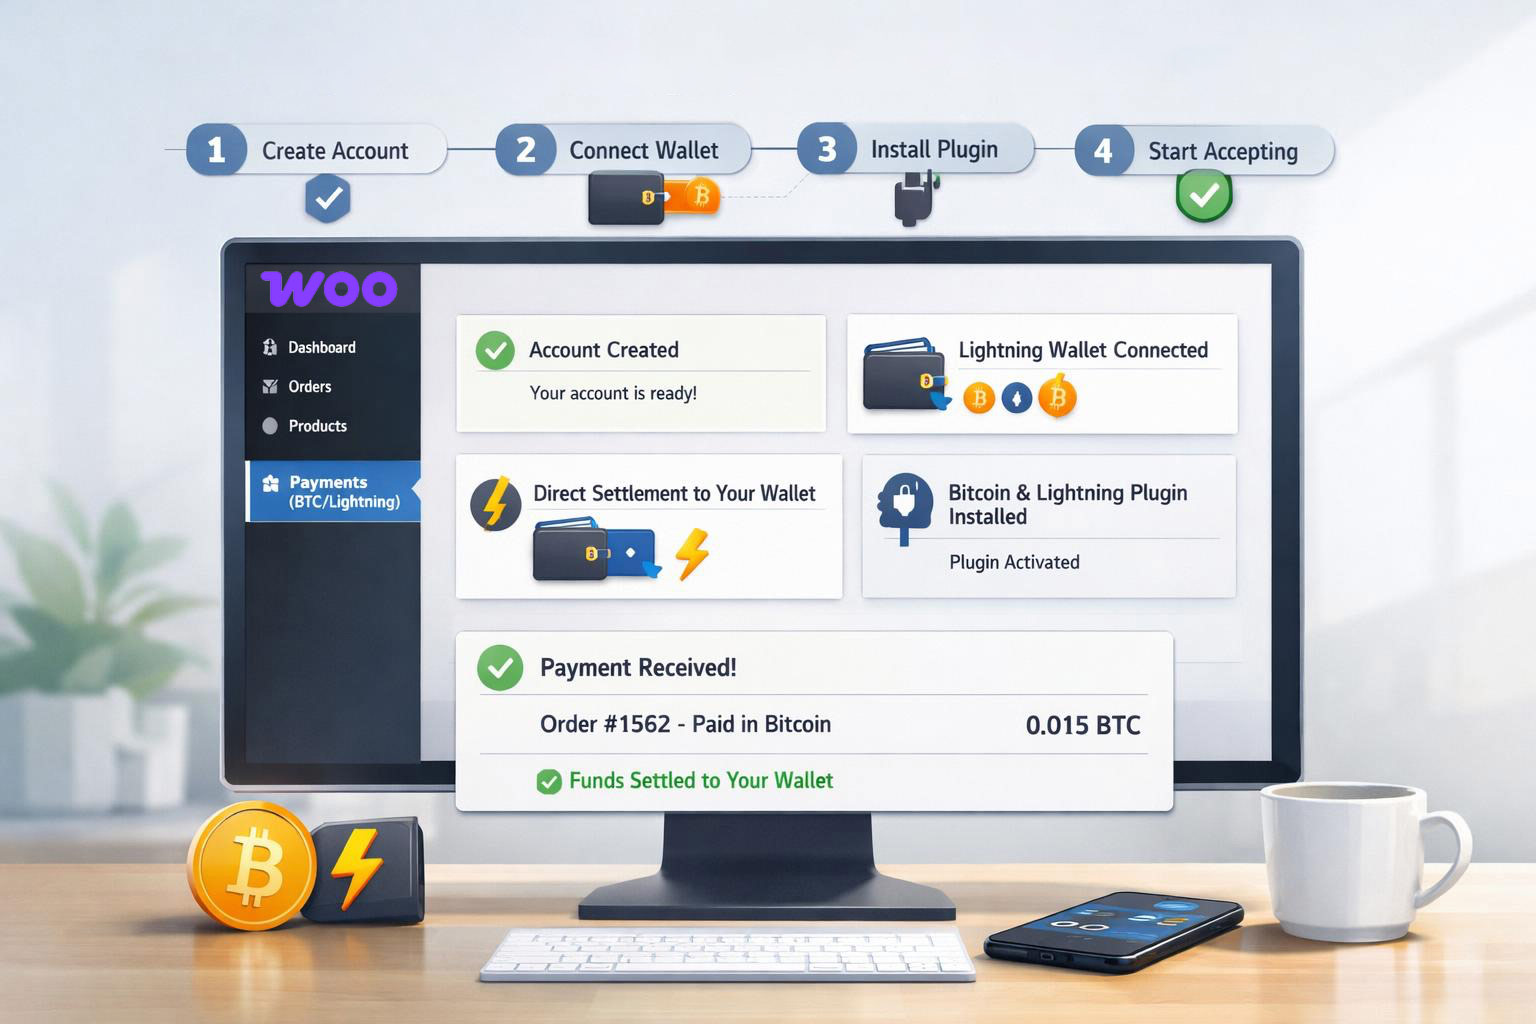
Overview
- Create a Coinsnap account
- Set up a Lightning Wallet and connect it to Coinsnap
- Install the Coinsnap for WooCommerce plugin
- Connect the plugin with your Coinsnap account
- Customize the plugin settings
- Perform test transactions
- View transaction data in the Coinsnap dashboard and use it for accounting
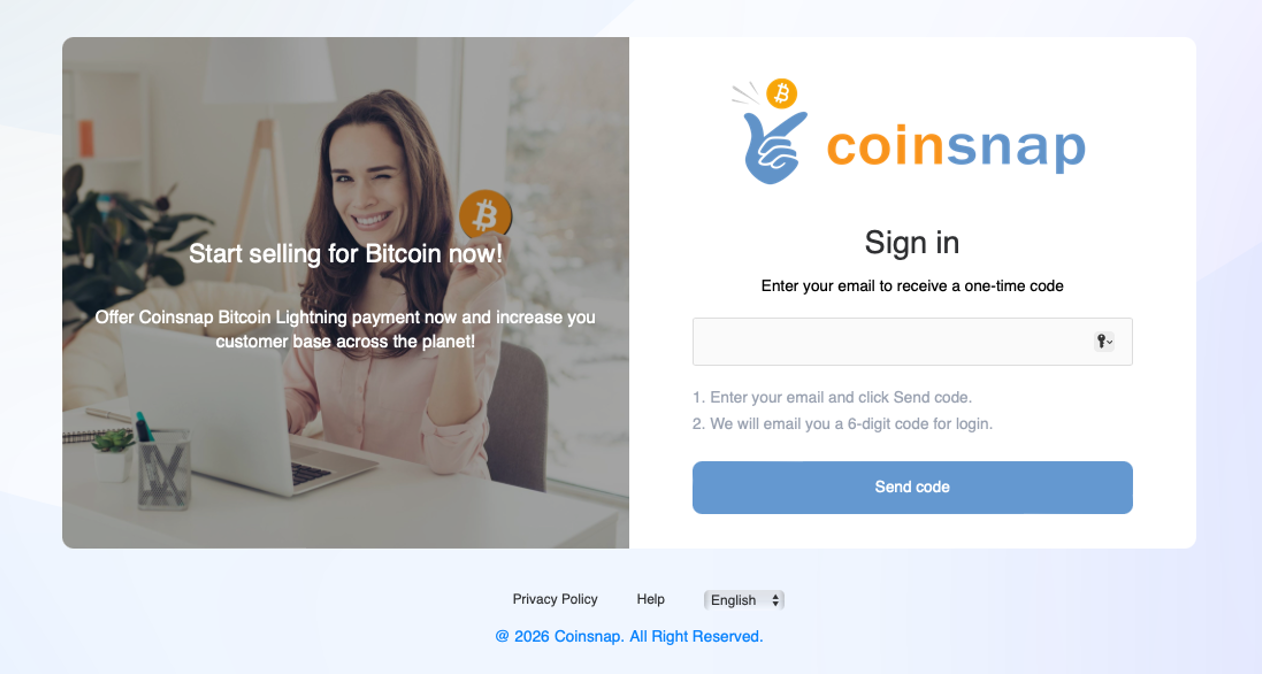
1. Create a Coinsnap Account
First, create your merchant account with Coinsnap.
👉 Go to https://app.coinsnap.io/login and register with your email address.
👉 More information: How to open a Coinsnap account
2. Set Up a Lightning Wallet
Your customers can pay in your WooCommerce store using Bitcoin on-chain or the Lightning Network.
Payments will be credited to you via Lightning, so you need a Lightning Wallet with a Lightning address.
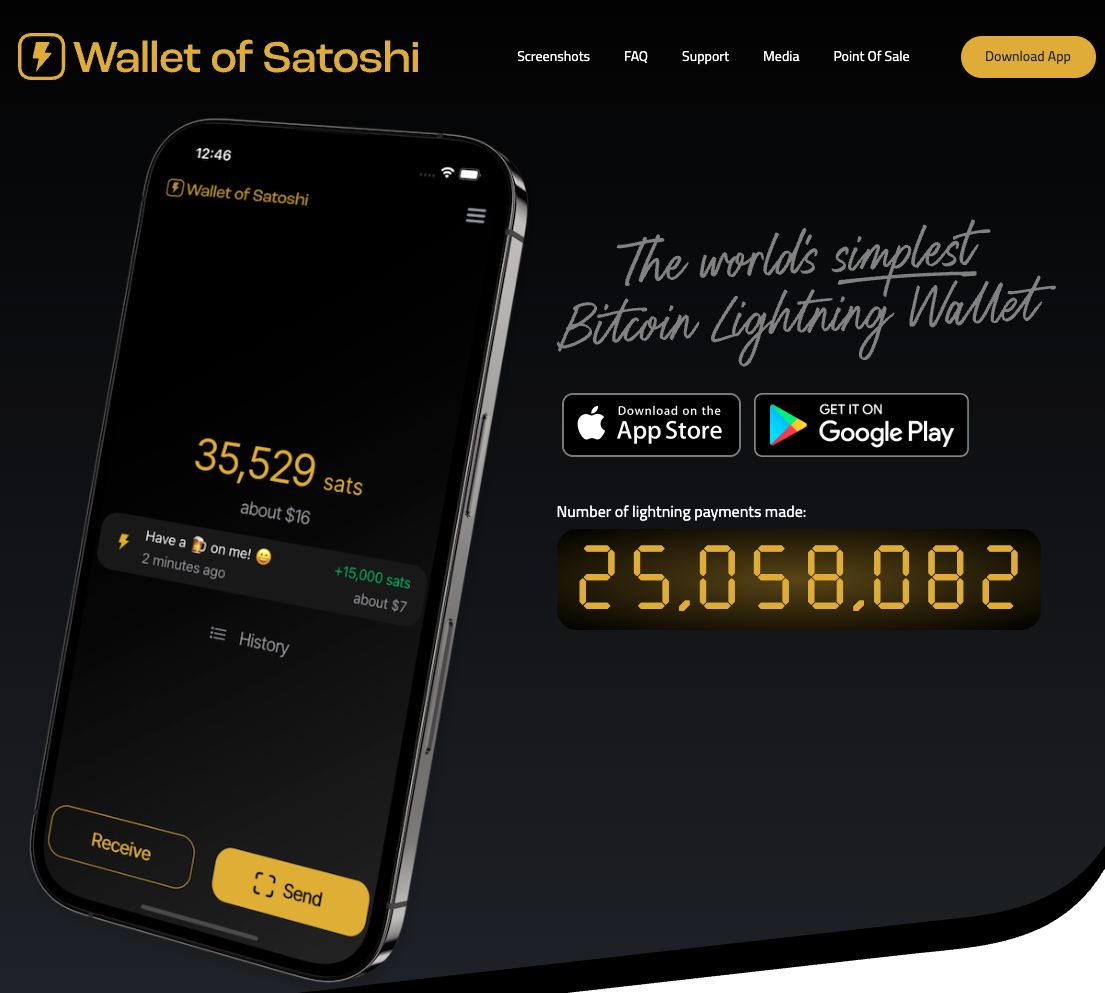
For beginners, we recommend Wallet of Satoshi.
👉 Install the Wallet of Satoshi app from your App Store (iOS or Android).
The app automatically generates a Lightning address for you — it looks similar to an email address but allows you to receive Bitcoin payments.
👉 Example: yourname@walletofsatoshi.com
Your Bitcoin sales will be credited directly to this wallet. You can transfer your Bitcoin at any time to another wallet, e.g. your BitBox02 hardware wallet.
👉 More information:
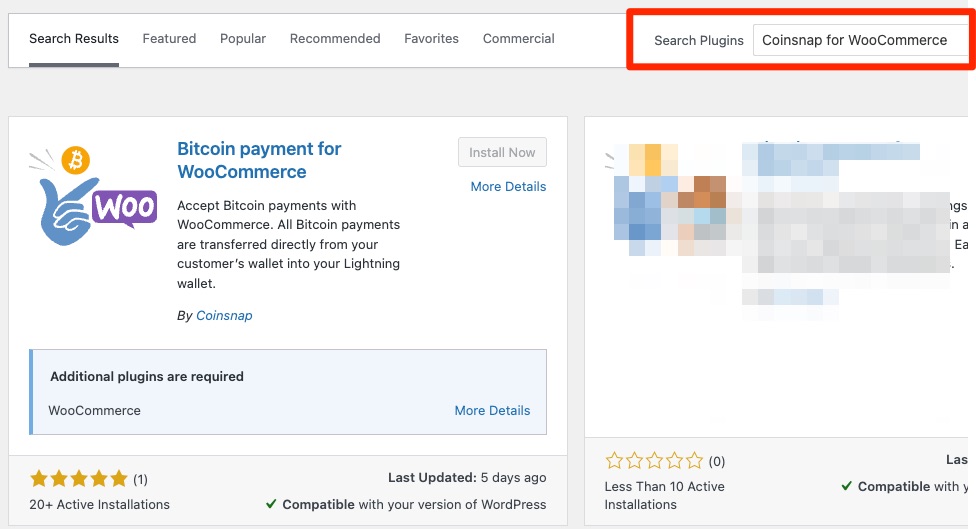
3. Install the Coinsnap for WooCommerce Plugin
Log in to the admin area of your WordPress website where WooCommerce is installed.
- Go to Plugins → Add New
- Search for Coinsnap for WooCommerce
- Click Install Now, then Activate
👉 Detailed guide:
Coinsnap for WooCommerce Installation Guide
4. Connect the Plugin with Your Coinsnap Account
To enable Bitcoin payments, your WooCommerce store must be connected to your Coinsnap account.
- Log in to your Coinsnap Dashboard
- Go to Settings → Store
- Copy your Store ID and API Key
- In WooCommerce, go to Settings → Payments → Coinsnap and paste both values into the Coinsnap plugin settings
Once done, your WooCommerce store is successfully linked to Coinsnap.
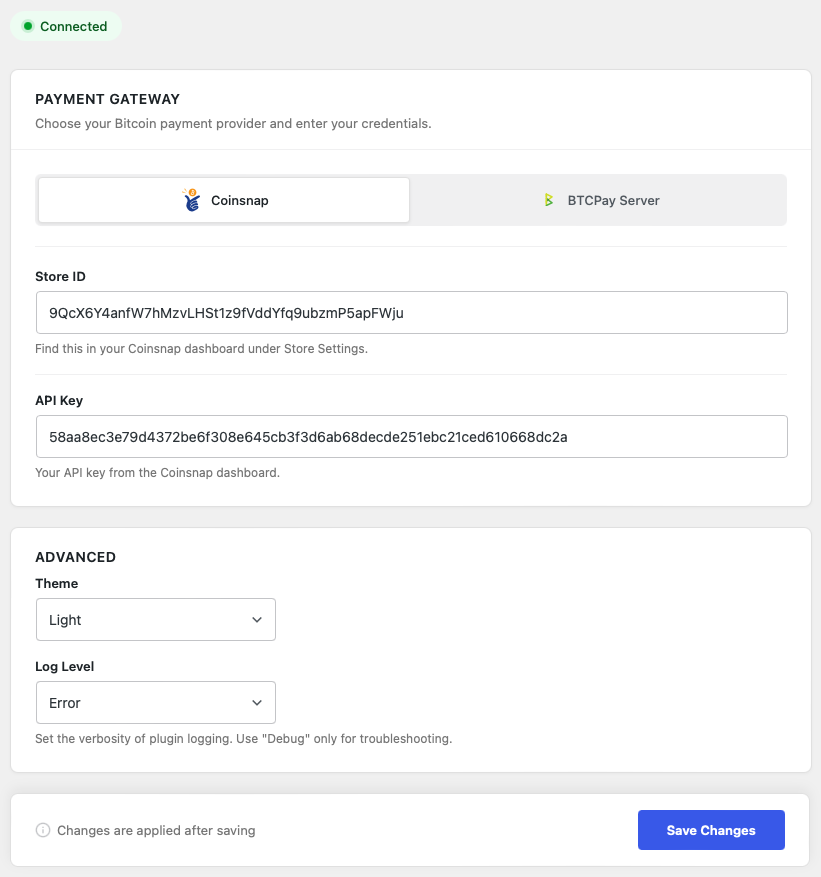
5. Customize the Coinsnap Plugin Settings
After the connection is established, you can adjust the Coinsnap plugin to match your store’s preferences.
You can, for example:
- Define how the payment method is displayed to customers (e.g., “Bitcoin + Lightning” or a custom label)
- Offer a discount for Bitcoin payments
- Change button text or display labels
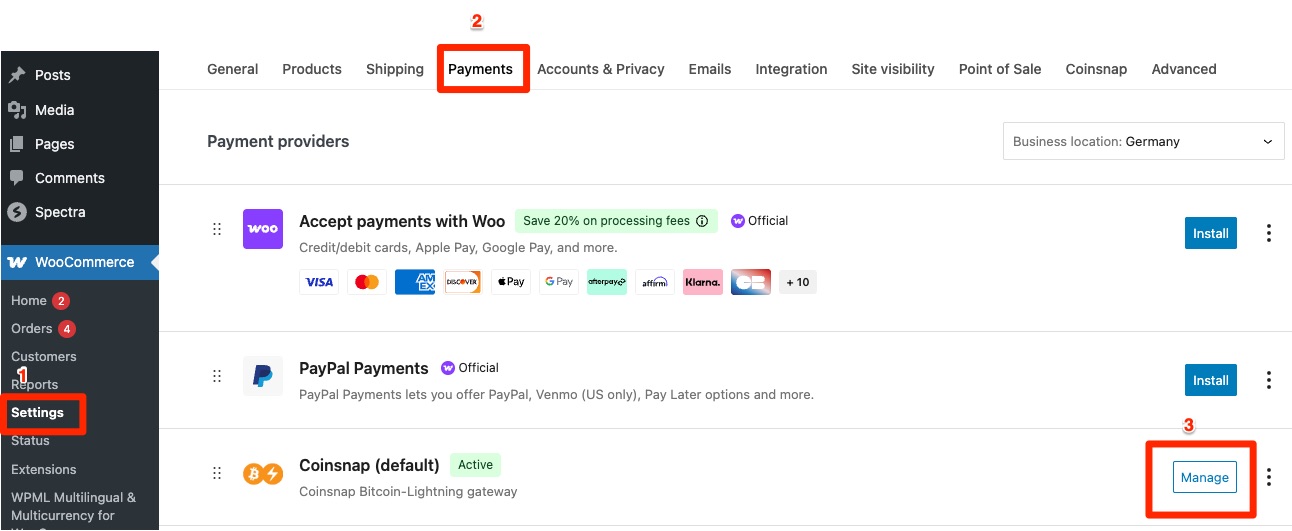
You can find these options under WooCommerce → Settings → Payments → Coinsnap.
Click Manage to open the settings panel.
6. Perform Test Transactions
Before you start accepting real payments, we recommend performing two test transactions:
- Purchase a product and pay via Lightning
- Purchase another product and pay via Bitcoin Onchain
If the payments are successful, the order status in your WooCommerce backend will show as “Completed.”
This ensures your integration works properly.
7. View Transactions in the Coinsnap Dashboard
All transactions are listed in your Coinsnap Dashboard under Payments.
- When the Payment status shows “Settled” in green, your customer has successfully paid.
- When the Transfer status also shows “Settled,” the payment has been successfully credited to your wallet.
Click View to open detailed transaction information.
👉 Tip: Print out transaction details and attach them to the WooCommerce invoice for accurate accounting.
Conclusion: Why it makes sense to accept Bitcoin payments with WooCommerce
With Coinsnap, you can start accepting Bitcoin payments in your WooCommerce store in just a few simple steps — no intermediaries, no custody by Coinsnap, and direct settlement to your own wallet.