Coinsnap for JTL-Store
Accept Bitcoin and Lightning payments in JTL-Store with Coinsnap.
Coinsnap for JTL Store allows you to process Bitcoin Lightning payments via the Lightning Network in your JTL online store.
With the Coinsnap Bitcoin Lightning payment plugin for JTL Store, all you need is a Lightning wallet with a Lightning address to accept Bitcoin Lightning payments in your store.
The Coinsnap payment plugin for JTL Store makes it amazingly easy for your customers to buy your offers with Bitcoin Lightning: they can complete your transactions with just a scan of the QR code generated by the Coinsnap plugin and authorization of the payment.
After authorization, the payment is credited to your Lightning wallet in real time.
- JTL Coinsnap Demo Store: https://jtl.coinsnap.org/
- Blog Article: https://coinsnap.io/coinsnap-for-jtl-store/
- GitHub: https://github.com/Coinsnap/Coinsnap-for-JTL
JTL-Store Demo Page
If you want to try out for yourself how you can receive Bitcoin and Lightning payments with a JTL store, visit our JTL store demo store at this link.
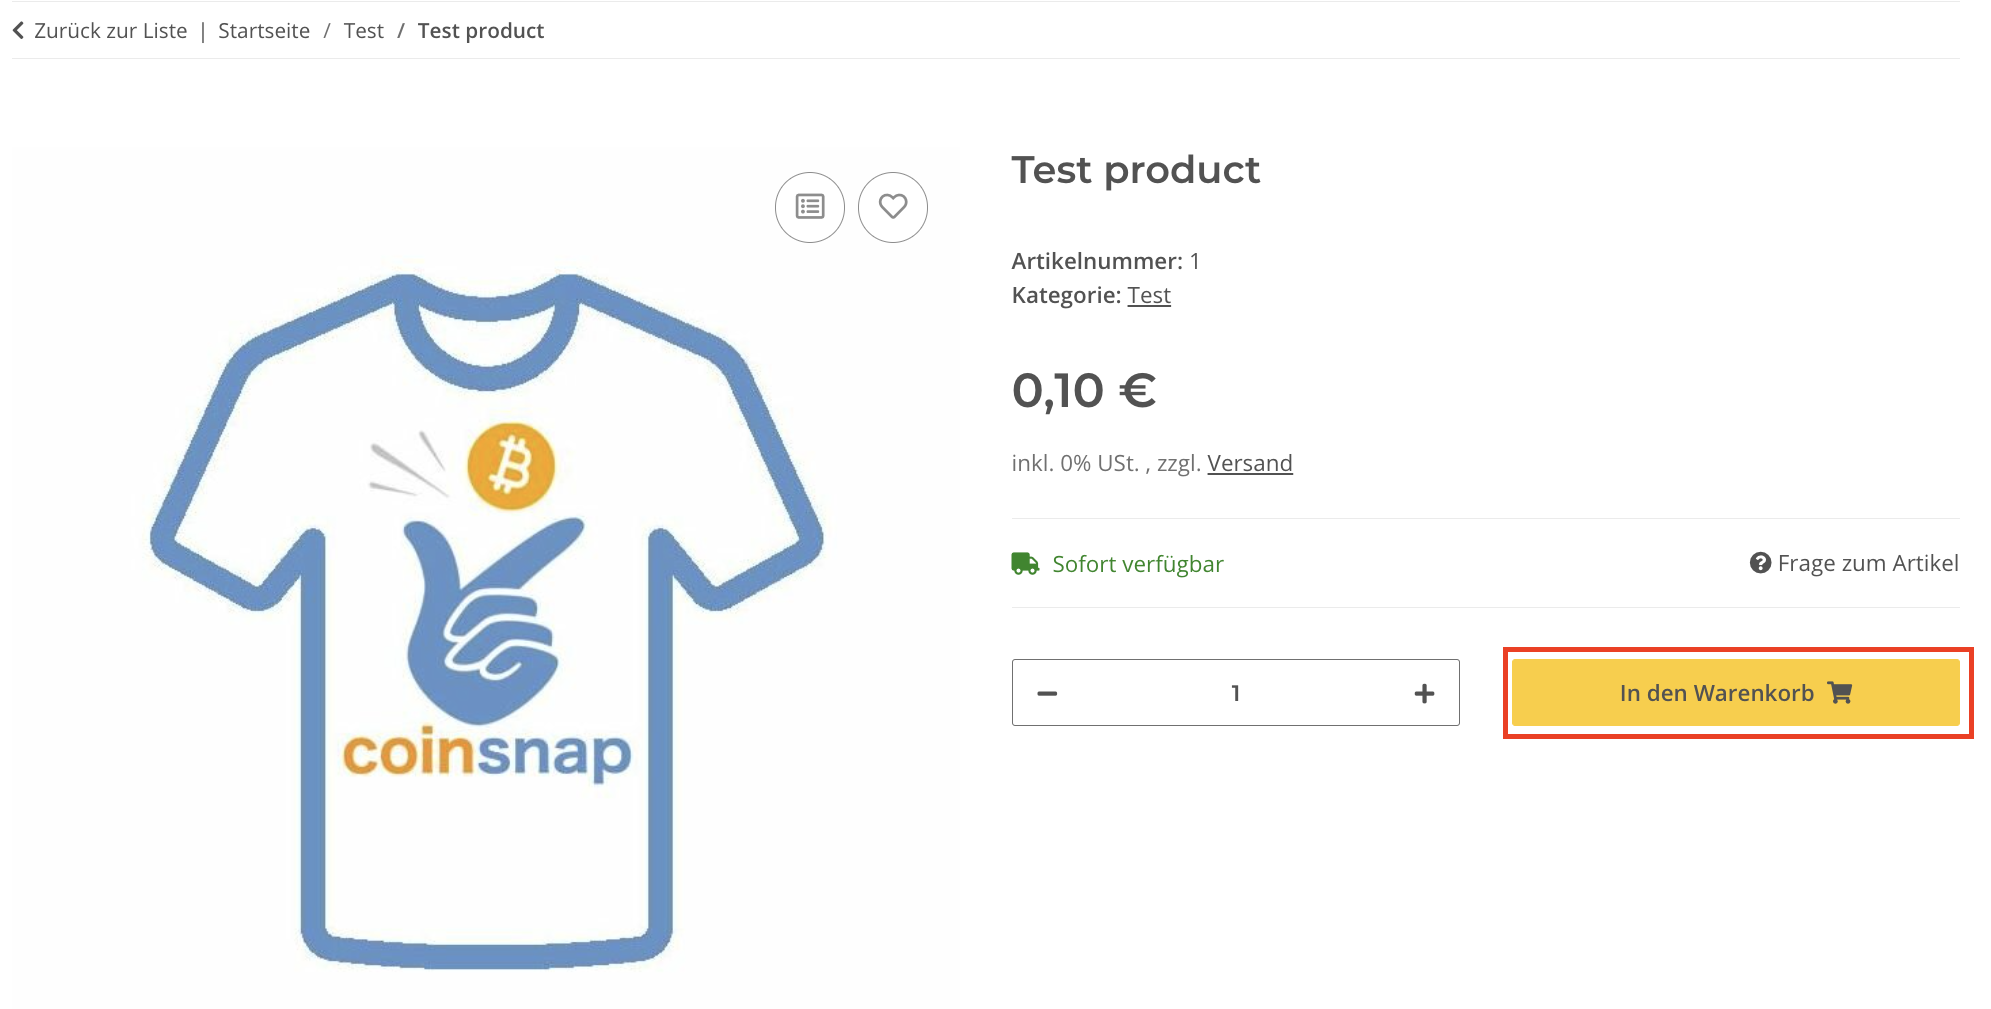
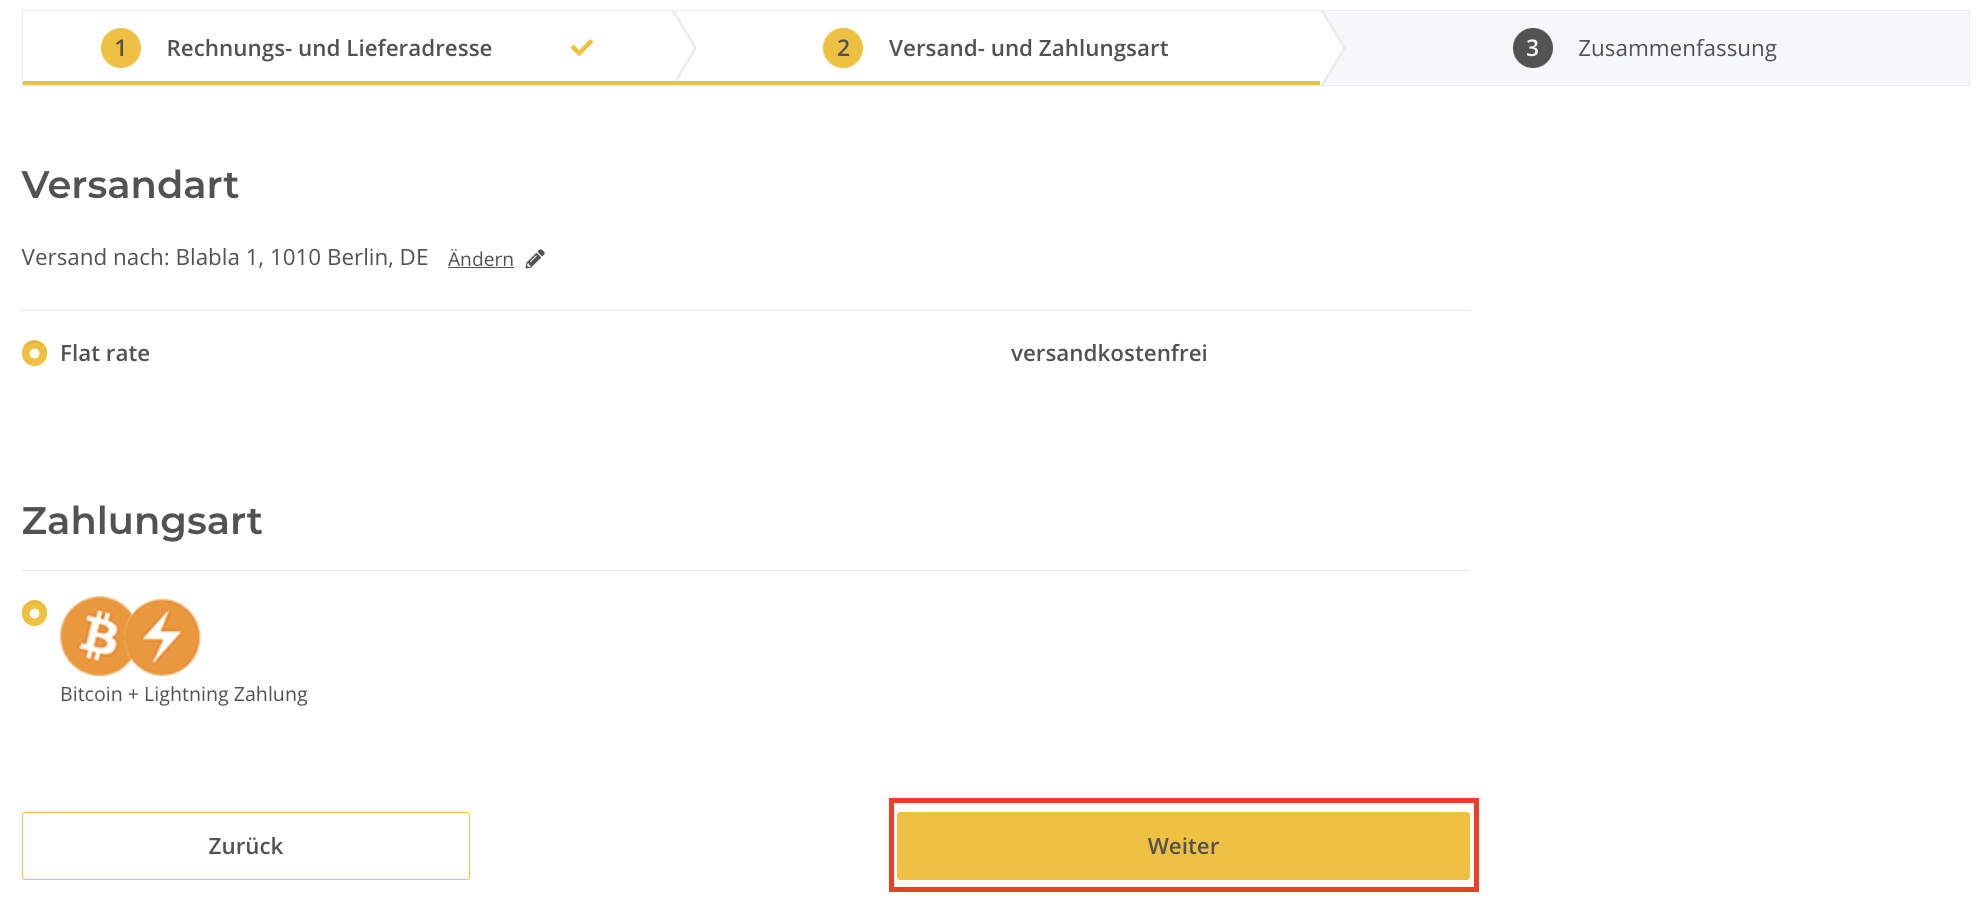
On our demo store page you will find our demo product, a T-shirt. Select it to test payment with Bitcoin and Lightning.
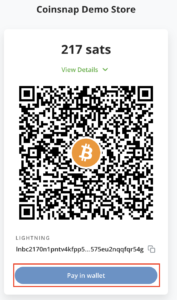
At the end you will receive a QR code that you should scan with your wallet to pay with Coinsnap Bitcoin and Lighhtning!
Download Coinsnap for JTL from GitHub
You can download the Coinsnap for JTL plugin from the Coinsnap Github page and install it on your WordPress site.
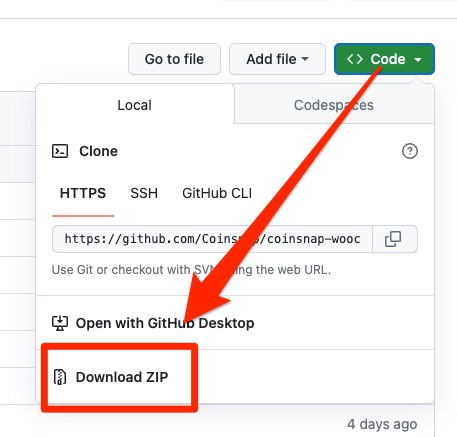
Visit the Coinsnap Github page. There you will find all the payment modules provided by Coinsnap. Go to Coinsnap for JTL. Go to the Coinsnap Github directory in the Coinsnap for JTL section.
There you will find the green button labeled Code.
When you click on it, the menu opens and Download ZIP appears.
Here you can download the latest version of the Coinsnap plugin to your computer.
- Download the ZIP file: You’ve already done this part by downloading jtl_coinsnappayment-main.zip.
- Extract the ZIP file: Unzip the file to a folder on your computer. After extraction, you should have a folder named jtl_coinsnappayment-main.
- Rename the folder: Rename the extracted folder from jtl_coinsnappayment-main to jtl_coinsnappayment.
- Recompress the folder: Zip the renamed folder back into a new ZIP file. The ZIP file should now contain the folder jtl_coinsnappayment at its root level.
- Upload the new ZIP file: Go back to the JTL Backend and upload this newly created ZIP file via drag-and-drop or by locating the file. JTL should now correctly recognize the folder structure and complete the installation without errors.
Set up Coinsnap on JTL-Store
As soon as you are registered with Coinsnap, you can log in to your JTL-Store store and access the JTL-Store backend.
If you haven’t yet set up your Coinsnap account, you can create one using this link. Before you start with the JTL Store backend area, make sure you have downloaded our plugin for the JTL Store from our GitHub page. When you access the JTL store backend, go to:
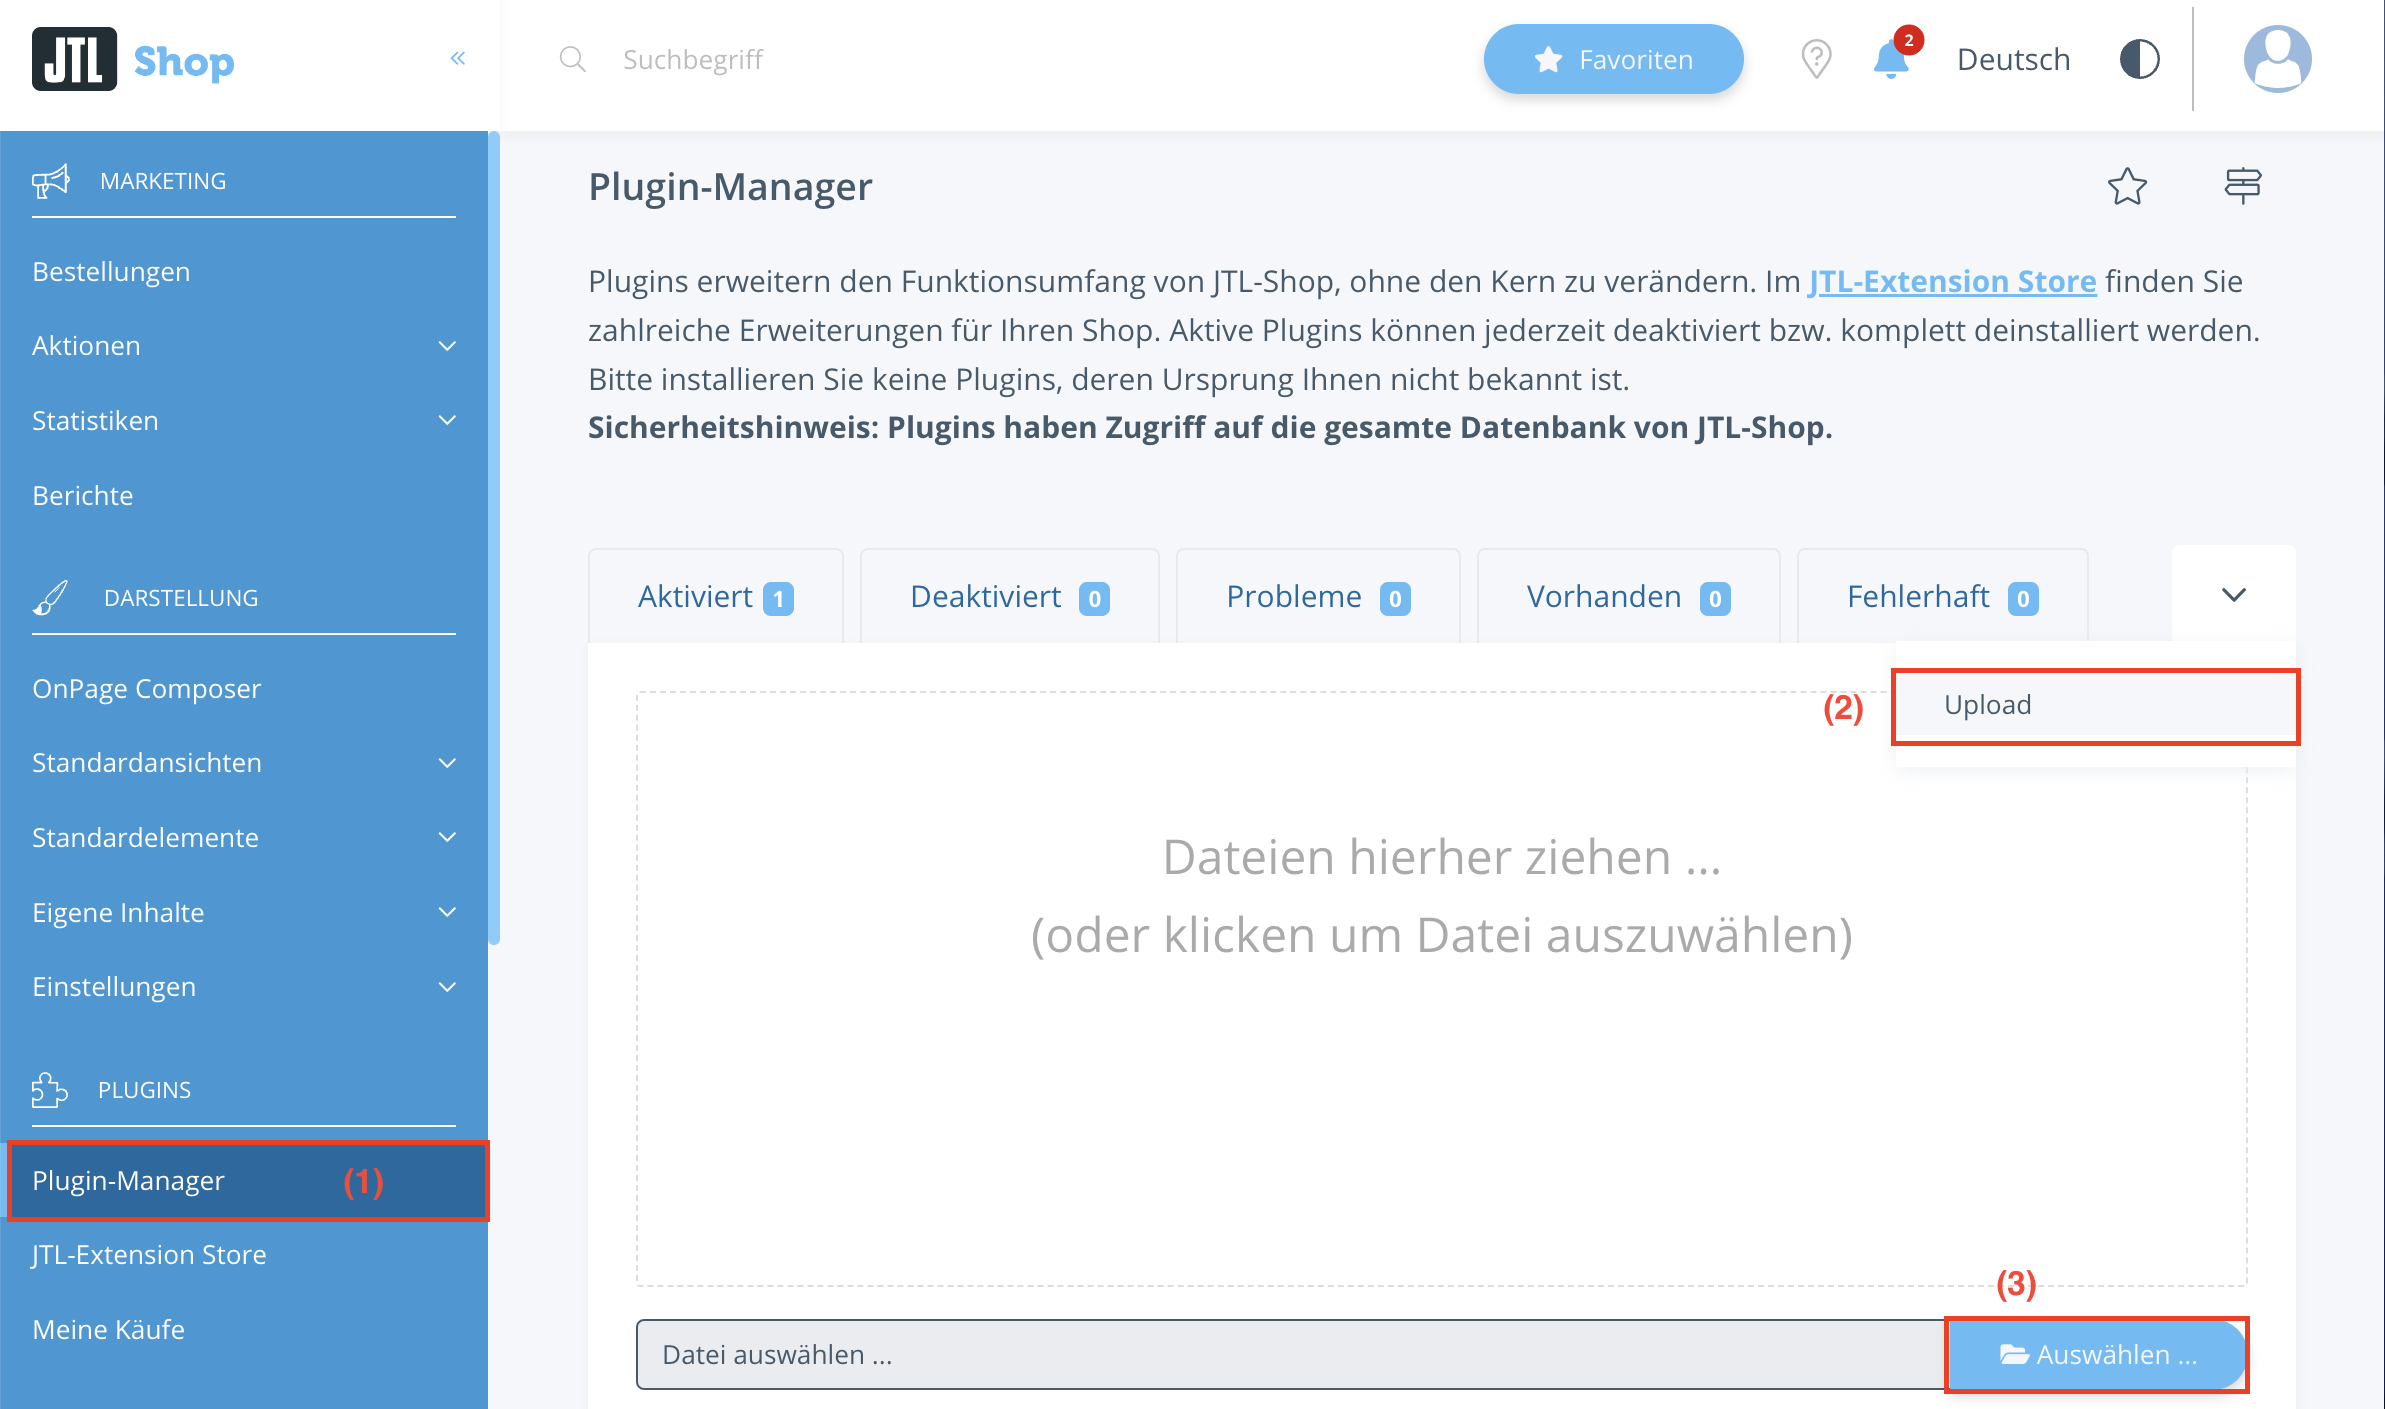
(1) Plugin Manager
Navigate to the plugin manager in the left area of the navigation menu.
(2) Upload-tab
Select the upload tab, which will be the last one on the right side. After you have selected “Upload-tab”, (3) drag the .zip file that you downloaded from our github page Coinsnap for JTL-Store Plugin onto the page.
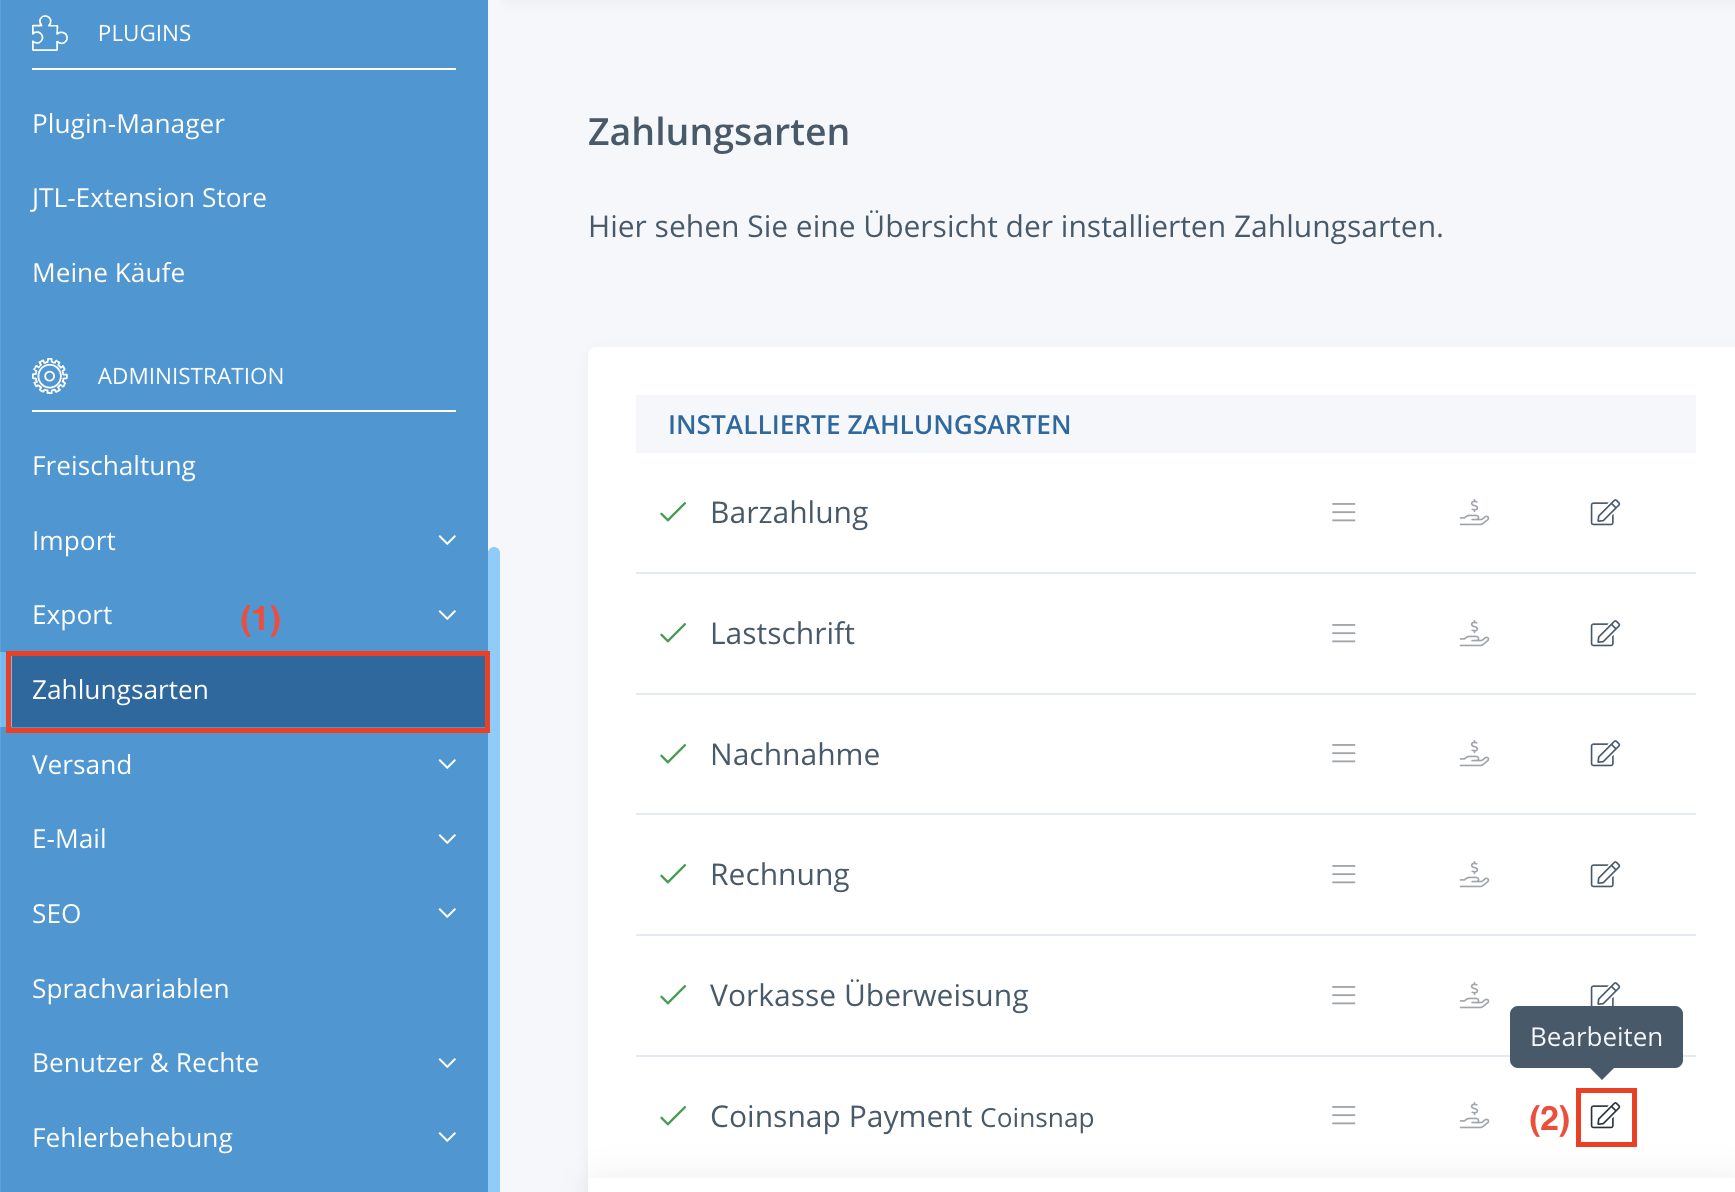
(1) Payment methods area
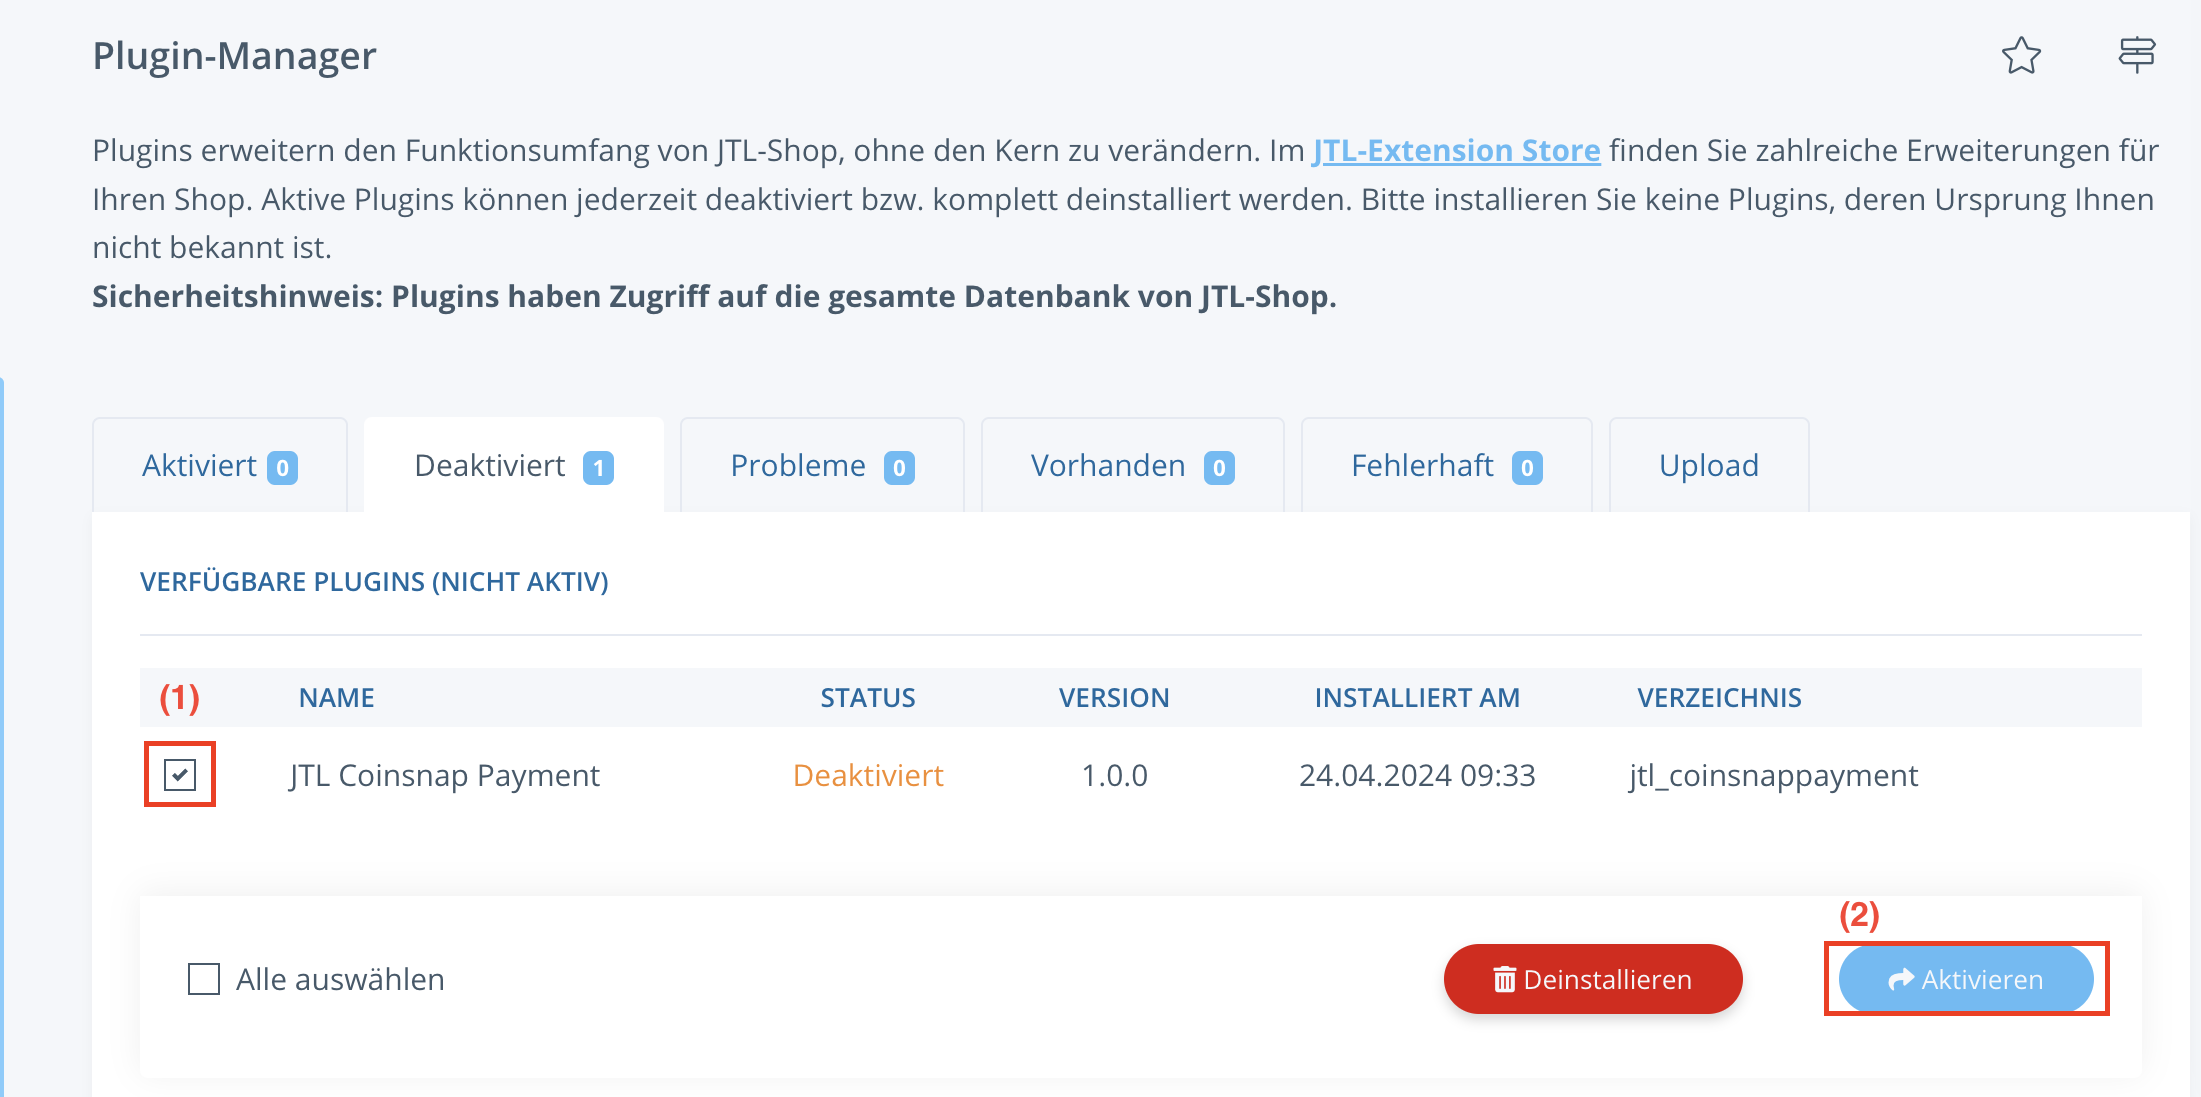
After successfully activating the plugin, navigate to the payment methods.
Select “Coinsnap Payment” and click on the “Edit” button – the small pencil that is the last in the row.
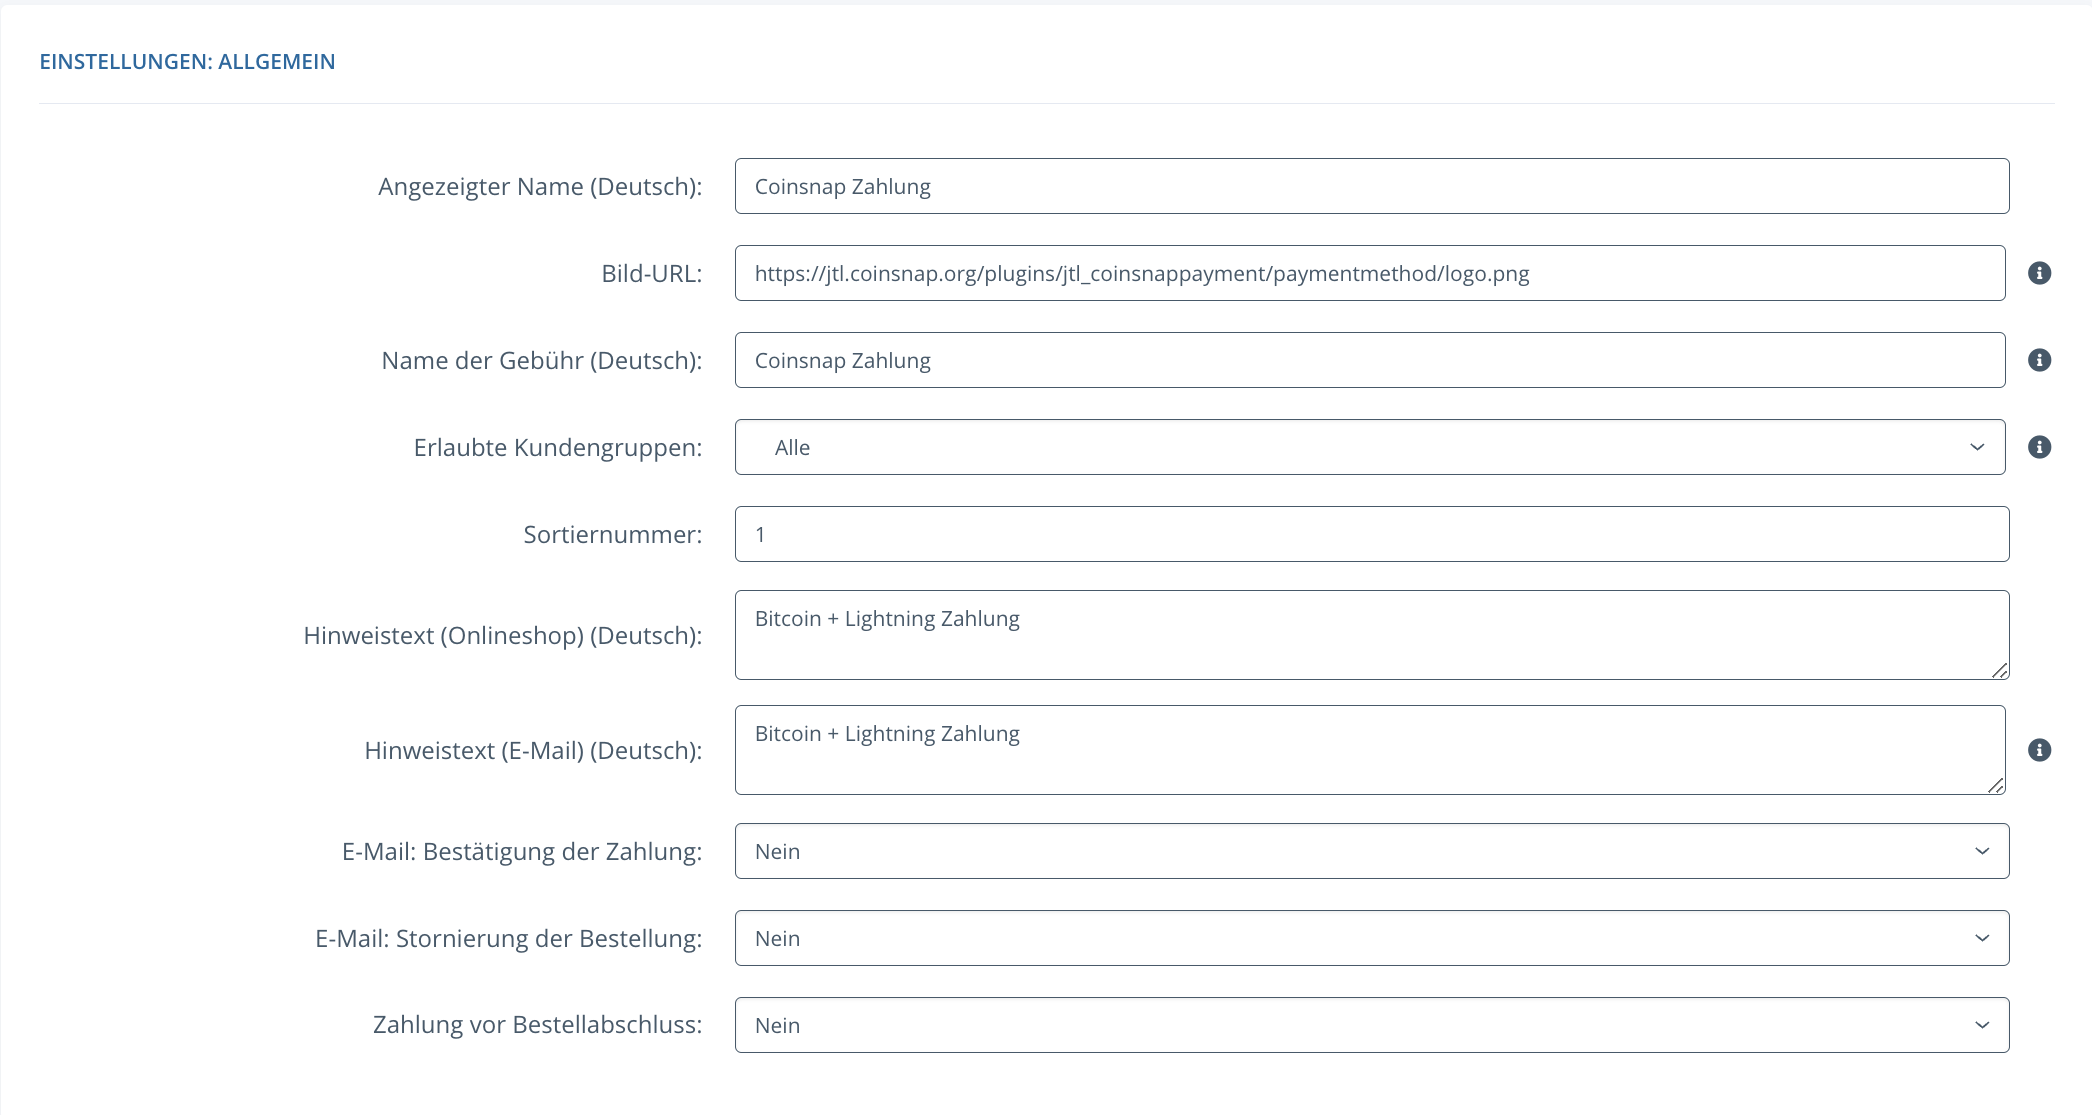
(1) General settings
First, you can make the general settings that you will have in your Coinsnap payment method.
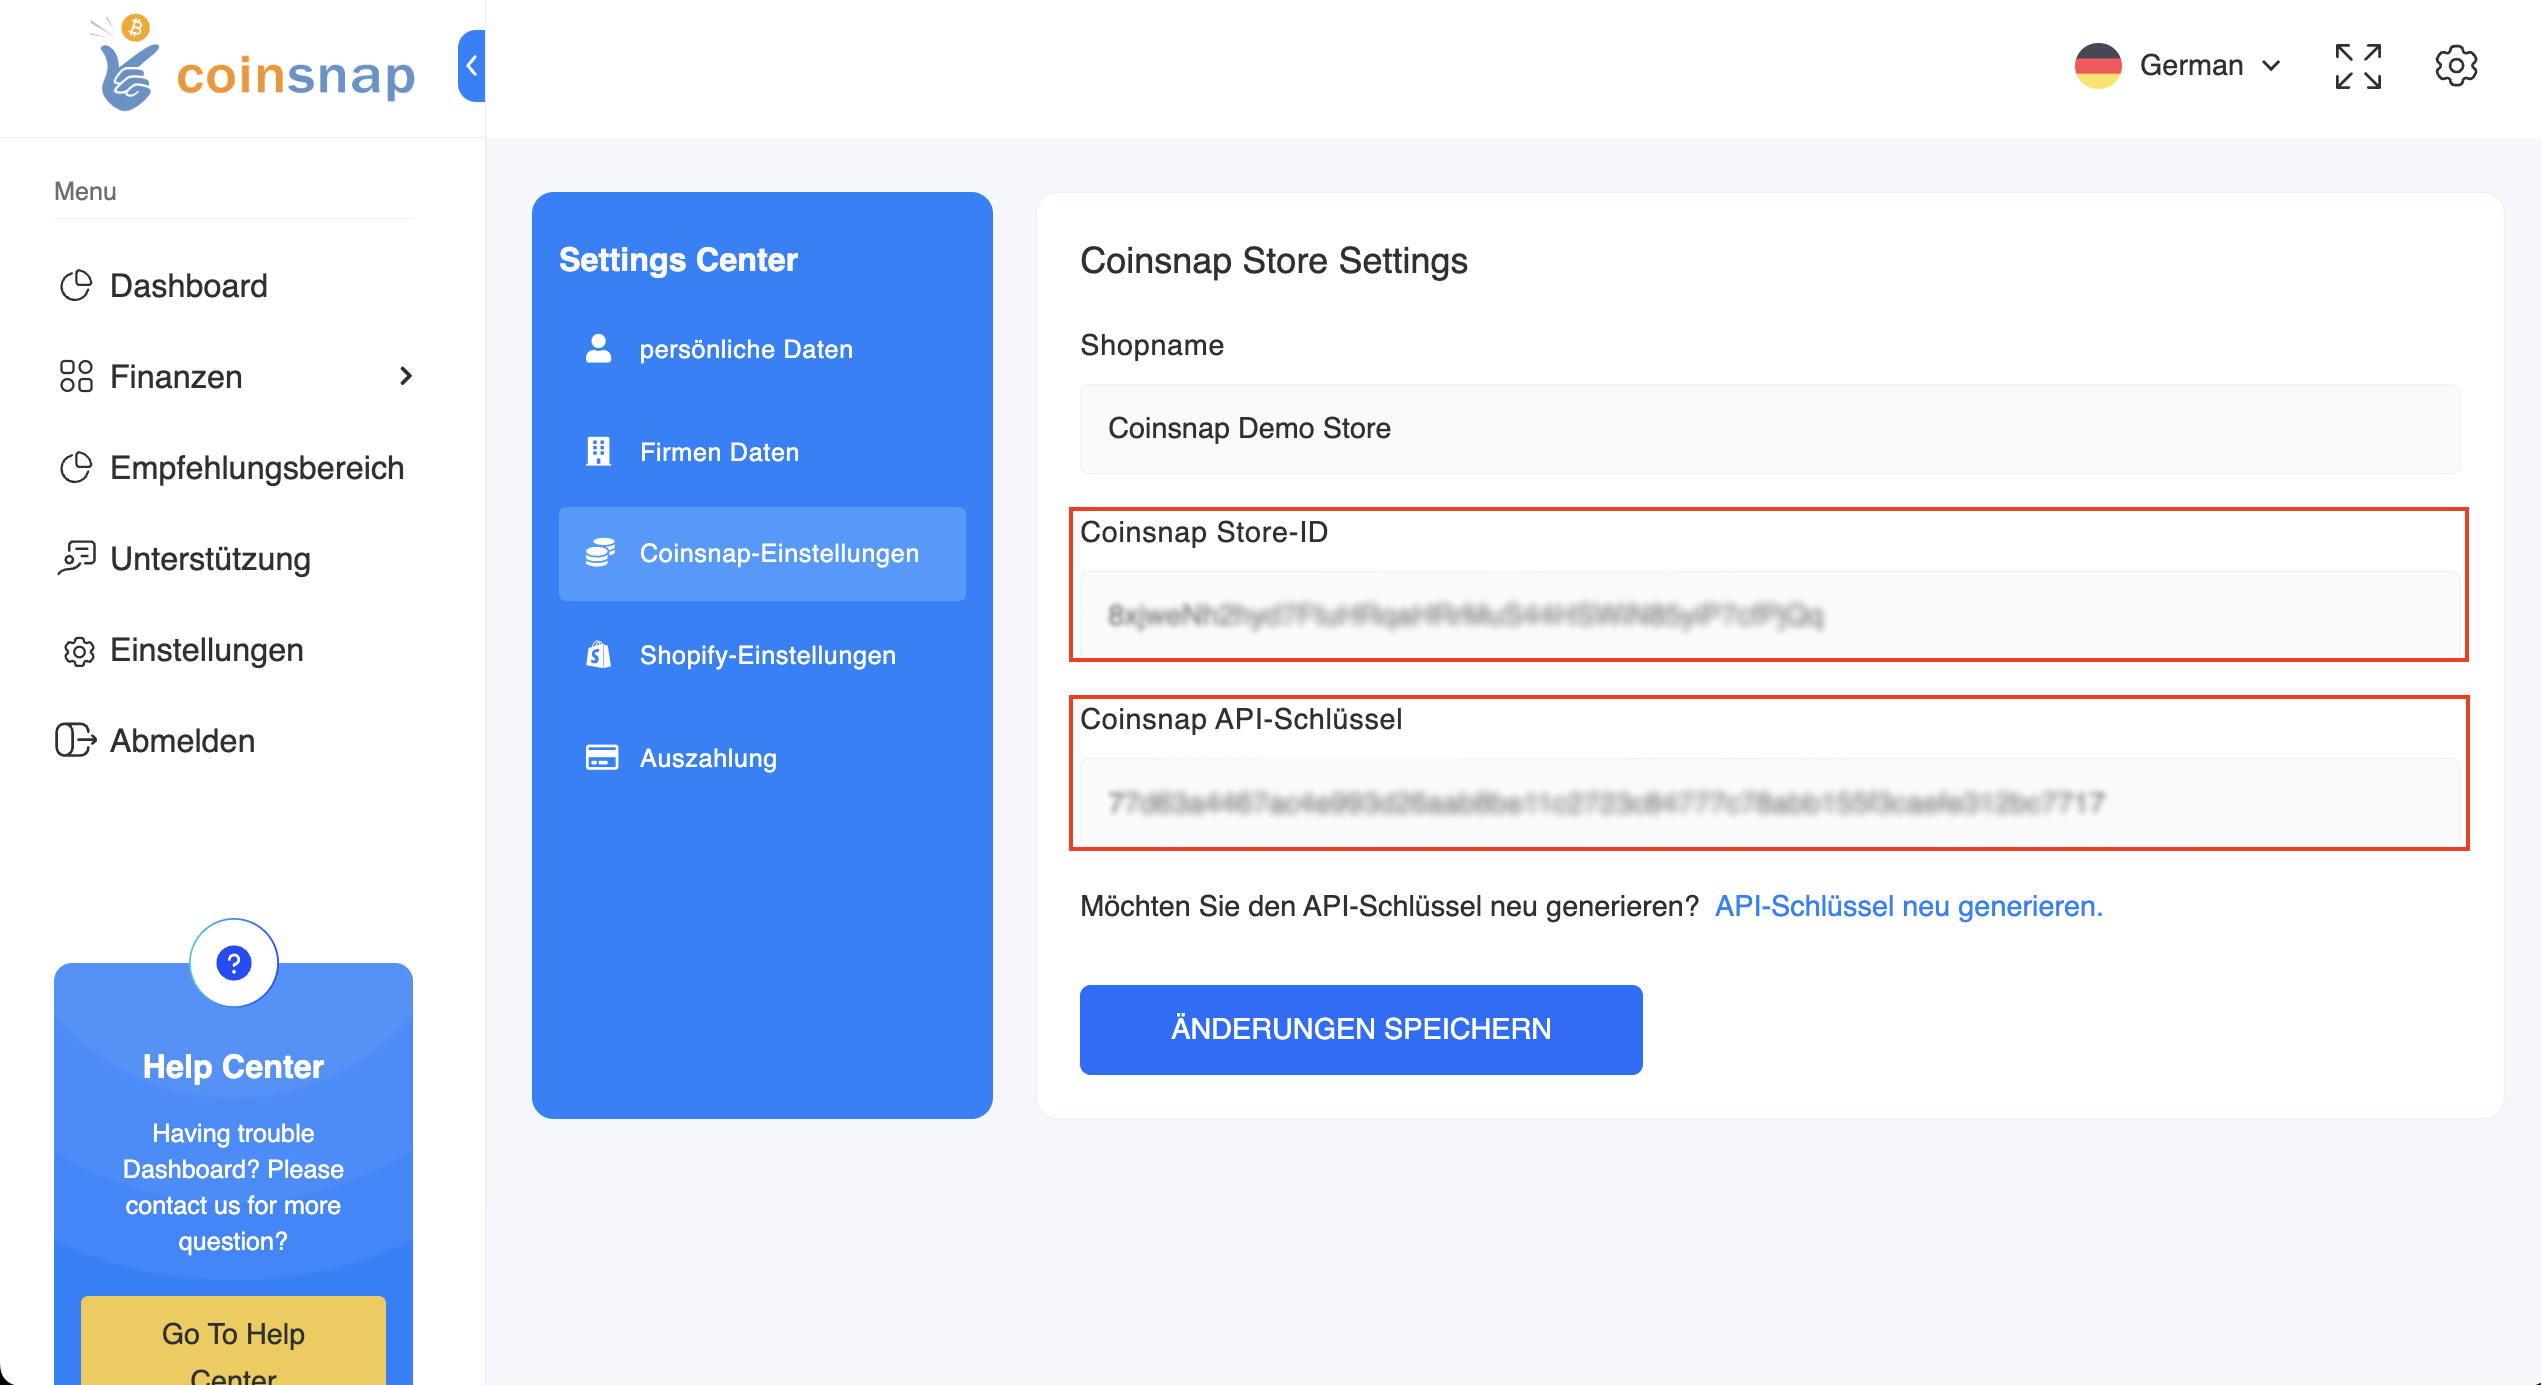
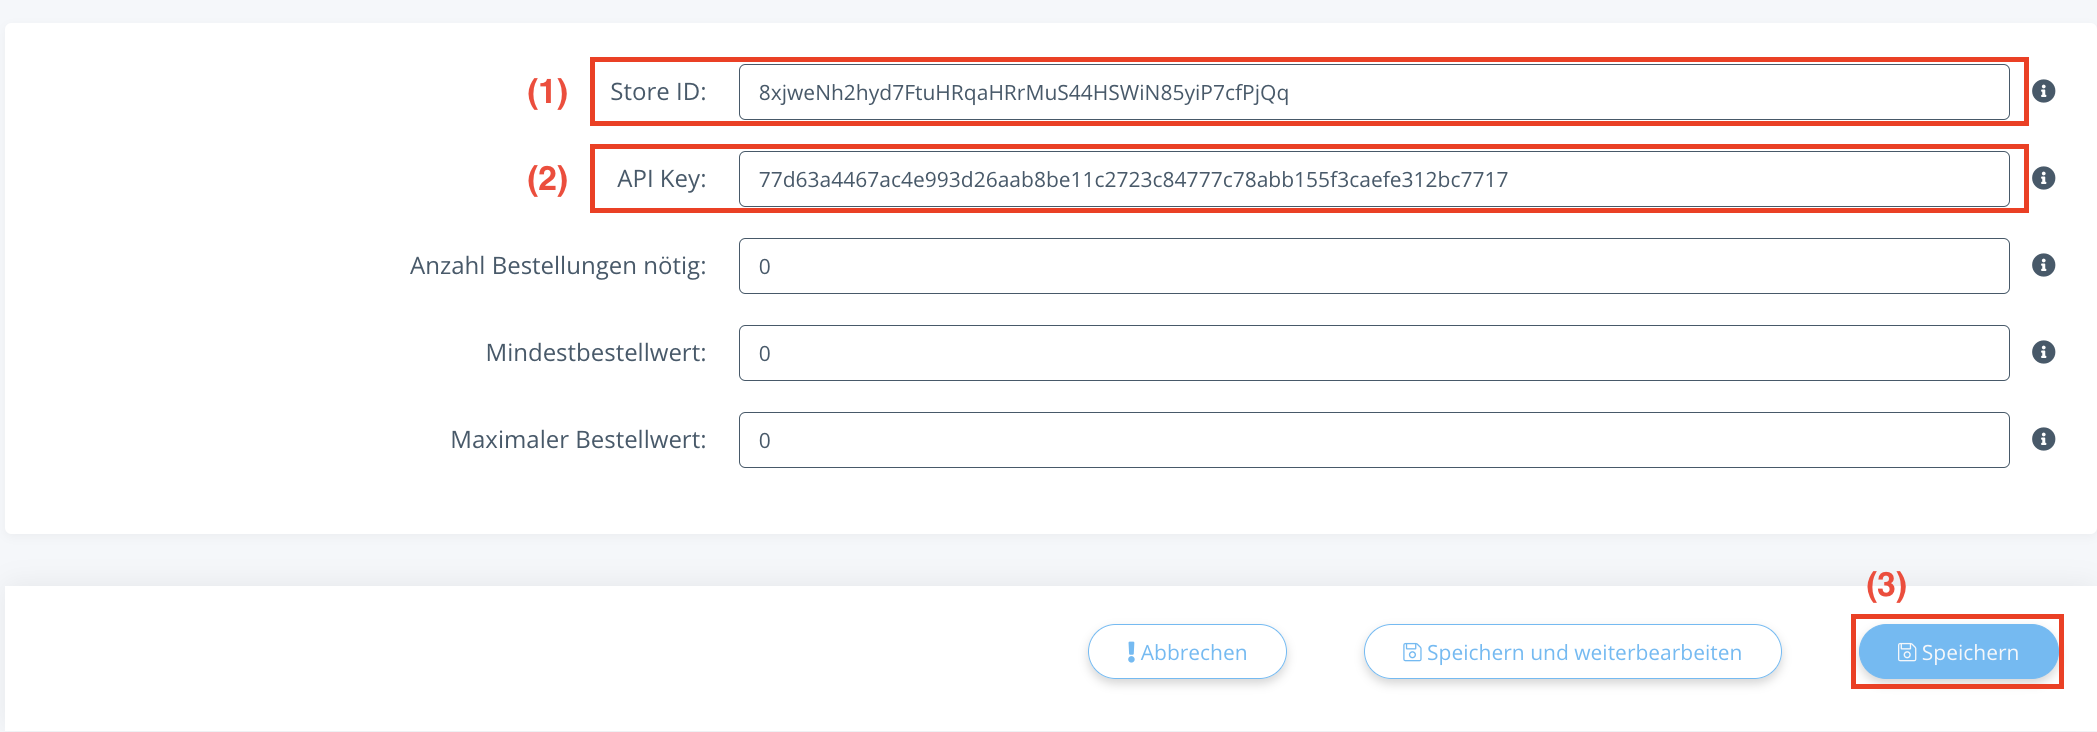
(2) Store-ID and Api-Key
Enter the store ID and api key that you copied earlier in the correct fields.
After you have filled in the fields, click on the “Save” button to activate this payment method.

