Simply Accept Bitcoin Payments

COINSNAP PRODUCTS

Payment Modules
Easy to install Bitcoin modules for the most popular online shop systems.

Web-Point of Sale
Accept Bitcoin payments on-site with any kind of device with a browser.

Payment Link
Send your customers a link to a Bitcoin payment interface.

Invoice form
Send invoices with a link to the Bitcoin payment page on your website.

Payment Button
Accept Bitcoin payments on your website without a shop system.

bitcoin Donation
Accept Bitcoin donations anywhere on any website.
Accept Bitcoin Payments Now
Find out more3 Steps to Accept Bitcoin — From Setup to Payment
Create your account with nothing but an email, install the module that fits your business, and receive funds directly to your own Bitcoin wallet or bank account. Simple onboarding, quick integration, and full control over your payments.

Get Started Fast
Create your account in seconds — all you need is an email.

Integrate Easily
Use ready-made Bitcoin modules for smooth and effortless integration.

Receive Instantly
Get instant deposits into your Bitcoin wallet (On-chain + Lightning) or your bank account.
Bitcoin payments for every shop system and every website
The right Bitcoin solution for every businessCoinsnap supports the leading e-commerce platforms, enhances WordPress with powerful Bitcoin payment plugins, and also provides flexible HTML payment tools for any custom web project. This lets you integrate Bitcoin in minutes—wherever you sell.

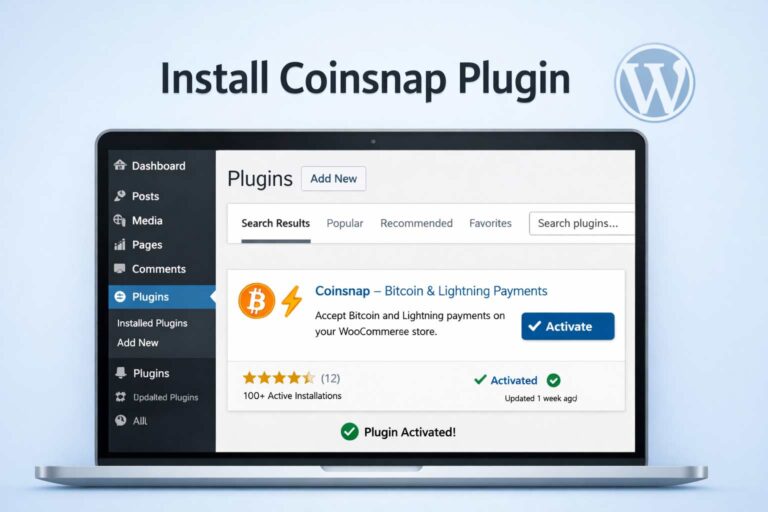
WooCommerce
Enable seamless, low-fee Bitcoin payments in your WooCommerce store — no coding required.

Shopify
Add Bitcoin payment to your Shopify store with the Coinsnap Shopify module.
Module overview
See all our Bitcoin payment modules and plugins at a glance – and choose the best one for your purposes.
Pay-tools
Coinsnap offers a variety of flexible HTML payment tools that allow you to receive Bitcoin payments on any custom web project.
Why Coinsnap?
all you need to accept bitcoin todayNo one offers more Bitcoin payment modules across more shop systems, WordPress plugins, and use cases than Coinsnap.

Self-Custody
Coinsnap is a Self-Custody Bitcoin Provider and does not hold customer funds. All payments are deposited directly into your own wallet or your own bank account.

Lightning ready
Customers can pay via Lightning or on-chain — and their payments are instantly deposited into your Bitcoin wallet or, if desired, in euros directly to your bank account.
Easy Integration
Coinsnap offers a wide range of modules, plugins and integrations that can be installed in any system with just a few clicks.
Why Bitcoin?
safe, inexpensive, globalThere are many good reasons to accept Bitcoin in your online store.

Guaranteed Payment
Bitcoin payments are final and cannot be reversed. Both on-chain and Lightning transactions are irreversible — eliminating the risk of chargebacks.

Low Fees
Bitcoin payments, especially via Lightning, are significantly cheaper than credit cards, PayPal, or other traditional payment methods.

Globally Available
Bitcoin works worldwide — without banks, without restrictions, and independent of a customer’s country of origin or payment infrastructure.


Stores that already use Coinsnap


These companies support, recommend or use Coinsnap:


