
If you have a Shopify online store, offering Bitcoin payment has never been easier than with the Coinsnap for Shopify app.
Simply install the app (which you find in your Coinsnap account) on Shopify and link it to your Coinsnap account – and your customers can pay with Bitcoin-Lightning immediately!
Of course, all incoming Bitcoin transactions are immediately credited to your Bitcoin Lightning wallet.
- Coinsnap for Shopify Demo Store: https://coinsnap.myshopify.com
- Coinsnap for Shopify Plugin Description: https://coinsnap.io/coinsnap-for-shopify/
- GitHub: https://github.com/Coinsnap/Coinsnap-for-Shopify
Get your free Coinsnap account or test the plugin in our demo-store now:
To receive Bitcoin in your Shopify store, you have to connect the Coinsnap for Shopify Bitcoin payment app with your Shopify store.
We will guide you through that process, step-by-step, now:
Free Shopify Integration Service
We are here to help: If you feel insecure about installing Coinsnap for Shopify yourself, we are happy to install it for you, certainly free of cost.
Learn here what you need to do to let us install Bitcoin payment for your Shopify store!
1. Create and set up the Coinsnap for Shopify app in Shopify
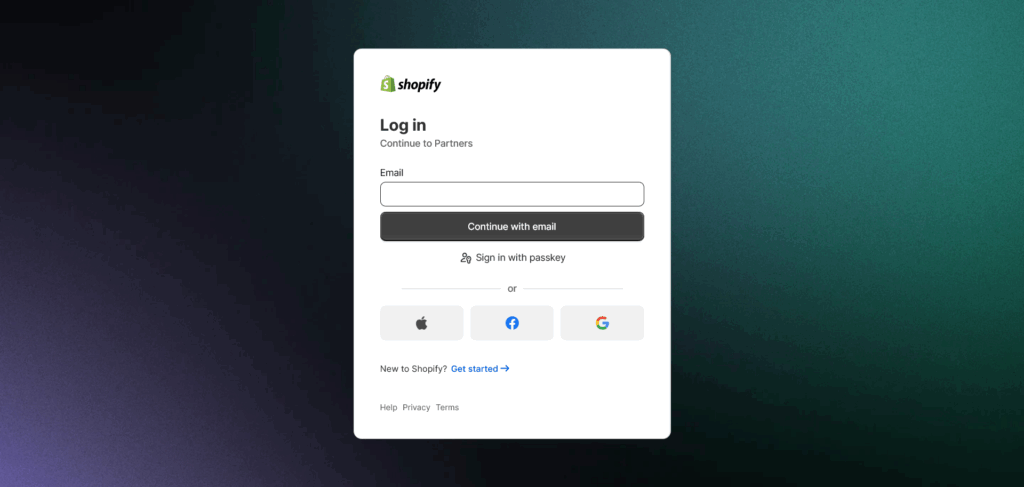
Log in to the Shopify partner portal: Go to https://www.shopify.com/partners

Register / login as a Shopify partner
In the Shopify Partner dashboard, click on Apps.

Now click on Create app.

Press Create app manually. Enter the name you want to call the app (e.g. BTCPay Server) and click Create.

Now a new App is created. Please save the credentials!
Now select API access on the left menu, scroll down to Allow network access in checkout and account UI extensions and grant network access:

Make sure Checkout and account UI extensions are enabled:

2. Coinsnap for Shopify app installation
Go to Settings → Shopify, paste Client ID, Client Secret and App name, and click Save.

Click on the Deploy button. The message Deployment started should appear if everything is OK.
3. Coinsnap Shopify App installation on Shopify store
On your Partner account, go to app Overview, select the app you just created, and click on Choose distribution.

Now select Custom distribution

Confirm the selection by clicking on the green button

Enter the Shopify store URL that you want to link the application to. This is typically the internal store url you see when you are configuring the store.
Warning! Leave the checkbox Allow multi-store install unchecked!

Click on Generate link and you will see a link generated. Copy that link and put it into your browser to start the installation.

You will see your app listed and you can now install it by clicking on Install (if you are not logged in you need to log in first).

If everything is OK, now a Coinsnap image should appear, saying Verification successful!

4. Thank You page customization
On your shopify dashboard, click on Settings, which is located on the bottom of the left navigation panel, select Checkout and then Customize.

In the editor, change the selected page to the Thank you page.

Click on the Apps icon on the left panel, add the app to coinsnap-checkout (Click on the (+) sign). You will see the extension got added to your “Thank you” page.

Important: Click Save in the top right corner.
To double-check all is working, click on the left arrow < next to the App name and verify that it is listed in the Order details section.

5. Custom payment method setup
Go back to your dashboard, click on Settings >> Payments on the left sidebar, scroll down to Manual payment methods, click on (+) Manual payment method.

Select Create custom payment method in the dropdown menu.

Now you can edit your payment method

6. Test Bitcoin Lightning payment
Fill out the necessary fields and press the button Review order

Check the order information under Review and pay and press the button Complete order

On the order confirmation page, press the Pay with Bitcoin button

Now the QR-code for the Bitcoin Lightning payment will appear.
Scan this QR-code with your Bitcoin Lightning wallet, and authorize the payment. The payment will immediately be credited to the wallet you specified in your Coinsnap account.
So – now you have Bitcoin payment in your Shopify store!

Order the free Coinsnap Shopify Integration Service
Let us implement Coinsnap for Shopify for you!
We are here to help: If you feel insecure about installing Coinsnap for Shopify yourself, we are happy to install it for you, certainly free of cost.
Learn here what you need to do to let us install Bitcoin payment for your Shopify store!